Every kaiju in the game draws from a shared Kaiju Alpha skills kit: a pair of roars, a charged beam, a melee string, and a grab. Knowing how each input behaves — and how they chain into Kaiju Alpha combos — is the difference between a 200-level kaiju that farms Cells fast and one that feeds opponents. This guide breaks the full skill list down by input, range, and use case so you can stop mashing buttons and start winning exchanges.
Kaiju Alpha Skills Overview by Input
The full skill list in Kaiju Alpha is bound to a small set of keys rather than unique to each monster. That makes the kit predictable once you memorize the layout, and it lets you swap between kaiju without relearning the entire control scheme. Below is the core skill layout as it appears in most kaiju as of the recent Update 49 patch cycle.
| Input | Default Key | Skill Category | Base Function |
|---|---|---|---|
| Light Attack | LMB (or M1) | Melee | Short-range strike, fastest recovery |
| Heavy Attack | RMB (or M2) | Melee | Slower swing, higher stagger damage |
| Roar 1 | R | Roar | Short-range taunt, small buff window |
| Roar 2 | T | Roar | Longer-range roar, larger AoE |
| Beam | F (hold) | Ranged | Charged energy beam, can clash |
| Grab / Bite | G | Melee / Grab | Close-range bite, slam, or throw |
| Block | Q | Defense | Reduce incoming damage while held |
| Dodge | Space | Mobility | Short dash, i-frames at the start |
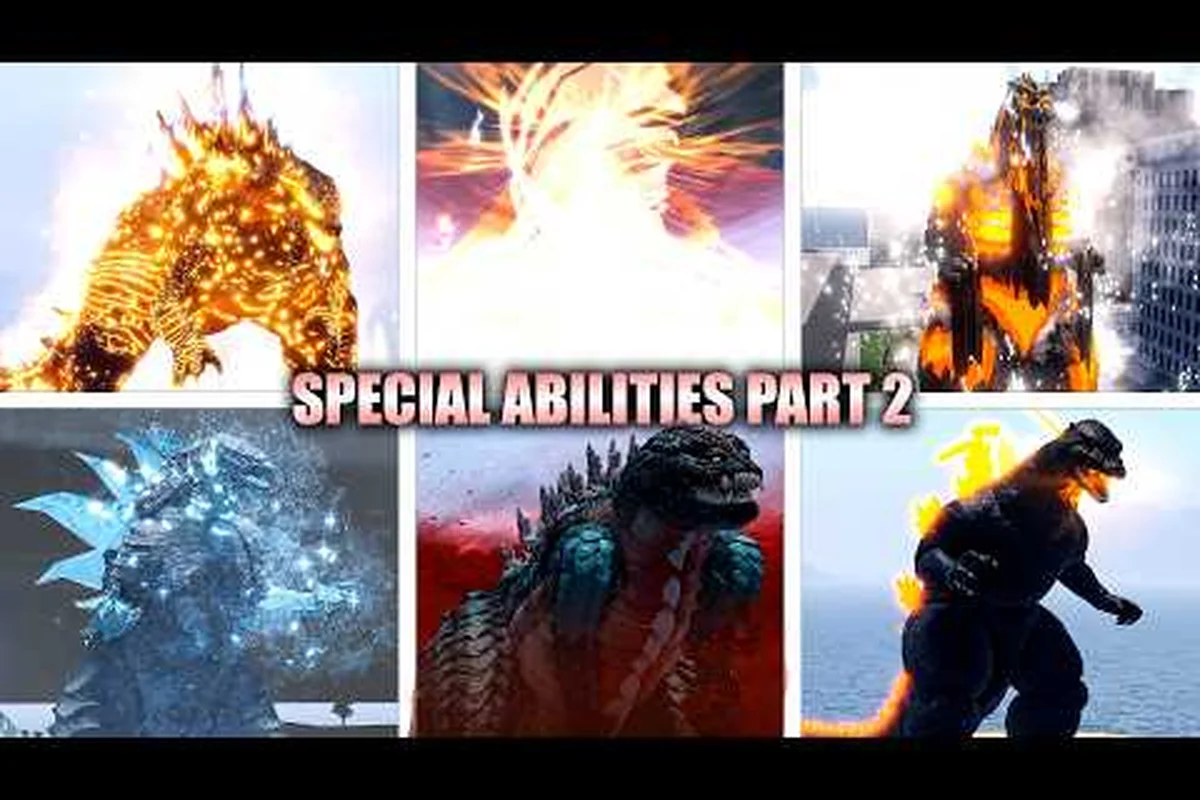
Every kaiju translates these inputs into its own animation set. A Godzilla kaiju uses Atomic Breath for its beam, while a Kong kaiju uses a chest-pulse or a shockwave on the same key. The framework stays the same; the visuals do not. If you already know the layout from one kaiju, the complete abilities breakdown maps each monster's input to its unique animation.
Why the Shared Kit Matters
A shared skill framework means matchups become about spacing and timing rather than memorizing dozens of unique movesets. A new player fighting a 200-level Destoroyah in Tournament Battle still has to dodge, block, beam, and roar — the same verbs they practiced in their first five matches. The skill gap comes from how well you chain those verbs, not from which kaiju you brought to the fight. Players who treat the kit as a toolbox rather than a list of buttons tend to climb the leaderboard faster because they are not panicking when a monster swap forces them onto unfamiliar animations.
Kaiju Alpha Roars and How to Use Them
Roars are the most underrated part of the kit because they look cosmetic. They are not. Roars apply a small Damage Buff or Defense Buff window depending on the kaiju, they interrupt light attacks from other kaiju, and they generate crowd-control pressure in team fights. Each kaiju has at least two distinct Kaiju Alpha roars, bound to R and T by default, and most monsters can swap their buff type by choosing the roar variant in the customization menu.
| Roar | Range | Buff Applied | Best Use Case |
|---|---|---|---|
| Roar 1 (R) | Short | Damage buff for ~4s | Punish an enemy who just whiffed a melee |
| Roar 2 (T) | Long | Defense buff for ~6s | Survive a beam clash or a team gank |
| Counter Roar | Short | Stuns nearby kaiju | Interrupt an enemy beam charge |
Roar 1 — The Quick Buff
Roar 1 is your combo opener. Because the buff window is short — about 4 seconds based on community testing — you want to use it right before a confirmed melee hit, not as a free action while you run around the map. The standard route is: close distance, tap R, swing twice with M1, finish with M2. If the roar lands, the next two hits deal noticeably more damage, and a kaiju that relies on fast pokes — such as Zilla 2004 — can chain two full strings inside a single buff window.
Roar 2 — The Defensive Roar
Roar 2 is the panic button. Its longer range and 6-second defense window make it the right choice when you are getting focused by two or three opponents in Boss Arena or a Tournament Battle lobby. Pop Roar 2 the moment you see a beam charging on the horizon, then hold Block on Q until the volley passes. The buff also reduces tick damage from map hazards, which is helpful in the later city stages where fire and rubble damage add up over a long fight.
Roar Matchups
Not every roar works against every kaiju. Heavier kaiju such as Biollante and Destoroyah have roar animations with longer startup, which means Roar 1 can be interrupted by a beam charge. Lighter kaiju such as Zilla 2004 roar almost instantly, which makes their Roar 1 safer to spam. According to community testing, the safest rule is to treat any uncharged roar as beatable by a held beam, so always roar behind cover or right after your opponent has already committed to a melee swing.
Kaiju Alpha Beam and Beam Clash Mechanics
The beam is the single most powerful ranged tool in the game, and the only skill that can interact with an opponent's beam directly. Holding F charges your beam; releasing it fires. If two kaiju fire beams into each other at the same time, the game triggers a Beam Clash — a quick-time minigame where both players mash to push the beam back across the screen. Whoever wins the clash staggers the loser and gets a free follow-up combo.
| Beam Phase | Input | Effect |
|---|---|---|
| Charge | Hold F | Builds energy, slows movement |
| Fire | Release F | Continuous beam, drains energy |
| Clash | Both kaiju fire | Mash to push, loser staggers |
| Cancel | Tap Block (Q) during charge | Cancel safely, recover stamina |
When to Charge and When to Fire
Charging a beam is a commitment. While you are holding F, you cannot block, dodge, or melee, which means a smart opponent will close distance and punish your charge. The safer pattern is to charge behind a building or at the edge of the arena, then peek out and fire. Most kaiju's beam reaches across roughly two city blocks, so the firing line is longer than the line of sight for a melee swing. According to the Biollante skills comparison video by community creator Iho, Biollante's beam in particular excels at long-angle trades because its tracking is tighter than most kaiju's.
How Beam Clash Resolution Works
The clash minigame is not random. It rewards the player who times their mashes to the rhythm of the screen flash, and the player with the higher beam-push stat usually wins ties. Stat differences between kaiju matter — Kong kaiju tend to lose beam clashes against heavier beam-push kaiju such as Destoroyah, so playing Kong means you want to fire first and skip the clash window. Players who want a deeper dive on the input rhythm can check the kaiju alpha all roars guide for a parallel guide that covers beam timings alongside the best atomic breath routes.
Canceling a Bad Charge
If you start charging and an opponent suddenly closes distance, tap Q (Block) to cancel the charge. The cancel window is short — roughly 0.3 seconds based on community testing — but it converts a punishable commitment into a safe recovery. After canceling, you can dodge, block, or roar to reset the exchange. Players who skip the cancel button and release a panicked beam at point-blank range usually lose the trade because the beam whiffs over the opponent's head.
Kaiju Alpha Melee Strings and Combo Routes
Melee is where the skill ceiling sits. Every kaiju has a light-light-heavy string, plus a grab option on G, plus a small number of unique follow-ups that depend on directional input. The full Kaiju Alpha melee system rewards players who can hold a string while tracking an opponent's dodge cooldown.
| String | Input Sequence | Damage Tier | Notes |
|---|---|---|---|
| Light Poke | M1 | Low | Fast, safe on block, low stagger |
| Light-Light | M1, M1 | Medium | Two-hit confirm, opens heavy follow-up |
| Light-Light-Heavy | M1, M1, M2 | High | Standard finisher, big stagger |
| Heavy Starter | M2 | Medium | Slower, but high damage on hit |
| Grab | G | High | Beats block, loses to dodge |
| Aerial Slam | M2 in air | High | Only on kaiju with flight / jump |
The Standard Confirm String
The bread-and-butter combo for almost every kaiju is M1 → M1 → M2. The first M1 acts as a poke to test whether the opponent is blocking. If the hit lands, the second M1 confirms the chain. The M2 finisher is the kill button — it deals heavy stagger and gives you a free reposition. This string works on every kaiju in the game because it is built from the shared kit rather than from a unique animation. Players who want to extend the string further can swap the final M2 for a grab on G, which beats block but loses to any opponent who dodges on reaction.
Directional Follow-Ups
Directional inputs during a string unlock extra moves. Pressing forward during the M1 → M1 transition gives a dash bite for kaiju with bite animations, while pressing back gives a tail swipe. These directional swaps are what separate intermediate players from beginners: the beginner finishes the string with M2 every time, and the intermediate player conditions the opponent to expect M2, then swaps to a grab or a dash follow-up to bait the dodge. According to community reports, the top 10% of Tournament Battle players condition their opponents with two M2 finishers in a row before swapping to a grab on the third exchange.
Melee Matchup Cheatsheet
| Opponent Type | Recommended String | Why |
|---|---|---|
| Light kaiju (Zilla, Anguirus) | M1 → M1 → M2 | Outpoke with faster strings |
| Heavy kaiju (Destoroyah, Biollante) | M2 starter → grab | Punish slow recovery |
| Beam-reliant kaiju (Kong, Godzilla) | Close → Roar 1 → M1 → M1 | Cancel their beam with a melee gap-close |
Kaiju Alpha Combos and Matchup Strategy
Once you can land the standard string, the next step is building Kaiju Alpha combos that weave roars, beams, grabs, and melee into a single pressure sequence. The goal is to make every opening count: each hit should either deal damage, force a defensive cooldown, or reposition you for a stronger follow-up.
| Combo Phase | Input | Purpose |
|---|---|---|
| Engage | Close distance or dodge in | Reach melee range |
| Buff | Tap Roar 1 (R) | Apply damage window |
| Confirm | M1 → M1 → M2 | Land guaranteed damage |
| Pressure | Grab (G) on prediction | Beat the dodge response |
| Finisher | Beam (F) on retreat | Punish the opponent's panic block |
The Full Pressure Route
A complete pressure sequence looks like this: start by closing the gap with a single dodge, tap Roar 1 the moment you enter melee range, and immediately follow with M1 → M1 → M2. If the opponent blocks all three hits, the buff will expire, so cancel the string into a grab on G to break their block. If they dodge the grab, they have used their dodge cooldown, which means a beam charged during the melee string will land. This three-layer sequence — melee, grab, beam — is the standard route used by competitive players in Tournament Battle and it transfers cleanly to Boss Arena once you have the muscle memory down.
When to Reset
Not every engagement should be a full combo. If the opponent has a teammate nearby, finishing a long string in place is a death sentence because both opponents can layer their damage into your recovery frames. The correct call is to land one M1 → M1 confirm, then back off and reset to mid-range. Players who try to force the full string in a 2v1 usually lose both the trade and the round. The combo route also has to flex based on the kaiju you are playing — lighter kaiju want the short M1 → M1 → M2 string and a quick reset, while heavier kaiju can afford the longer M2 starter and grab follow-up.
Using the Environment
City maps in Kaiju Alpha have destructible buildings that drop large rubble when collapsed. A common Tournament Battle trick is to bait an opponent into chasing you past a building, then dodging sideways to break line of sight while the building falls on them. The rubble tick damage is small but it stacks with a beam follow-up for a guaranteed kill. Players who want a more methodical route can chain this trick with the farming guide approach to build Cells faster while they practice the timing on live opponents.
Advanced Tips for Mastering Kaiju Alpha Skills
The skill ceiling sits a tier above the basics. Once the standard strings and roars feel automatic, the next step is to learn the few advanced tricks that separate tournament winners from the rest of the lobby. These tips assume you already have the shared kit internalized and you are looking for the next 5% of performance.
| Tip | Skill Used | Expected Gain |
|---|---|---|
| Buffer the cancel | Beam → Block (Q) | Skip punishable recovery |
| Fake the beam | Hold F, release immediately | Bait an opponent's dodge |
| Roar through pressure | Tap R during a melee trade | Interrupt light attacks |
| Stagger the strings | M1 → M1 → wait → M2 | Reset the opponent's block timing |
| Layer with map hazards | Force opponent into fire | Add tick damage during beam trades |
Faking the Beam
The fake beam is the most important trick in higher-level play. Hold F for roughly half a second, then release without firing. Most opponents will panic-dodge the moment they see the charge animation, which means the dodge cooldown is gone by the time you actually want to commit to a real beam. A clean fake → close → M1 → M1 → M2 sequence is one of the most reliable ways to land a full string against an experienced opponent because the fake burns the one defensive tool that would otherwise break the combo.
Buffering the Cancel
Every beam charge has a small recovery window where you cannot block. Buffering the cancel means tapping Q during the charge rather than after the fire, so the cancel activates the instant the charge ends. This is hard to time on purpose but easy to do with muscle memory. The how to block guide covers the input rhythm in more detail, but the short version is: tap Q a half-beat before you would normally release the beam, and the cancel will be ready to fire the moment you decide not to commit.
Layering With Map Hazards
City arenas have fire tiles, collapsing buildings, and falling debris that tick small damage over time. A beam trade near a fire tile is a winning trade even if the beam itself is a draw, because the fire keeps ticking after both kaiju disengage. The same trick works with collapsing buildings: bait an opponent into chasing you under a cracked building, then dodge sideways and let the building finish them. Combined with the standard combo route, these environmental layers add up to a much higher damage total than raw melee can deliver.
Frequently Asked Questions
What is the most important Kaiju Alpha skill for new players?
The most important skill for new players is the M1 → M1 → M2 melee string, because it works on every kaiju and gives a guaranteed damage confirm if both light attacks land. Once the string feels automatic, the next priority is the beam cancel on Q so you can charge without being punished. Roars come after those two skills are reliable.
How do Kaiju Alpha roars actually work in combat?
Roars apply a short buff window — about 4 seconds for Roar 1 and 6 seconds for Roar 2 — and they interrupt light attacks from nearby kaiju. Roar 1 is a damage buff best used as a combo opener, while Roar 2 is a defense buff best used when you are getting focused by multiple opponents. According to the official game terminology, the default keybinds are R for Roar 1 and T for Roar 2.
Can every kaiju beam clash in Kaiju Alpha?
Yes, every kaiju that has a beam attack can enter a Beam Clash with another beam-wielding kaiju. The clash is a mash minigame that rewards timing and beam-push stat, and the loser takes a stagger that opens them up to a free melee combo. Kaiju with weaker beam-push stats, such as Kong, usually want to fire first and skip the clash window entirely.
What is the best Kaiju Alpha combo for Tournament Battle?
The best Tournament Battle combo is the full pressure route: close distance, tap Roar 1, land M1 → M1 → M2, cancel into grab on prediction, and finish with a beam if the opponent dodges. This sequence covers all three defensive options an opponent has — block, dodge, and beam — and it scales with every kaiju because it is built from the shared skill kit rather than from a unique animation.
How long does it take to learn all Kaiju Alpha skills?
Most players can internalize the shared kit — roars, beam, melee string, grab, block, dodge — within two to three weeks of regular play, and the muscle memory transfers across kaiju. The unique animations and beam-push stats per kaiju take another two to three weeks to learn because each monster has its own timing. Tournament-level players typically report a two-month ramp before their win rate stabilizes.