
Abilities
Kaiju Alpha abilities explained: five skill slots, both roars on R and T, Beam Clash timing and cooldown management for cleaner fights in every mode.
Introduction
Combat in Kaiju Alpha is built on a consistent frame: every kaiju carries five skills bound to number keys 1 through 5 and two dedicated roars on R and T, and two energy attacks that meet head to head trigger a Beam Clash. Within that frame the kits diverge sharply, mixing ranged beams, melee strikes, defensive tools and area pressure so that no two monsters open a fight the same way. This category breaks down how those slots actually work, which skills serve as openers and which as finishers, how roars amplify a combo, when a Beam Clash is worth accepting, and how cooldown management decides fights between players of similar skill. It is written against the current Update 49 build.
Skill Slots, Roars, and Beam Clash
| Slot | Input | Typical Effect | Notes |
|---|---|---|---|
| Skills 1 to 5 | Keys 1 through 5 | Core attacks and utility | Every kaiju has a unique five-move kit |
| Roar 1 | R | Buff, taunt or area pressure | Primary roar for opening or intimidation |
| Roar 2 | T | Aura effects or combo setup | Secondary roar used situationally |
| Beam Clash | Triggered duel | Head-to-head energy beam contest | Rewards timing and higher-tier kaiju |
Ability Card Breakdown
Skills 1 to 5
Each kaiju carries five bound skills that form its core damage and utility rotation in every fight.
Roar Timing on R and T
The two dedicated roars give every kaiju a buff, taunt or pressure tool beyond its normal skill bar.
Beam Clash Duels
Head-to-head energy beam contests that reward timing and often favor the stronger or higher-tier kaiju.
Cooldown and Combo Routing
Managing cooldowns and chaining skills into roars is what separates a clean rotation from button mashing.
Core Mechanics
An ability rotation in Kaiju Alpha is a sequence, not a button mash. Five bound skills usually split into a low-risk opener, one or more damage tools, and a defensive or utility option, with the two roars acting as buffs, taunts, aura effects or combo setup rather than pure damage. Cooldowns are the real constraint, because the strongest skills have the longest waits, so throwing them out at the start of an exchange means having nothing ready for the finish. A common pattern is a safe skill first, a damage skill second, then a roar to amplify the finisher. Beam Clash adds a second layer, since two beams meeting create a direct contest that rewards timing and favors higher-tier kaiju, which makes choosing whether to clash a real decision.
Advantages
Understanding abilities is the cheapest power increase in the game. A player who knows the exact range, animation and cooldown of each slot will beat a player using a stronger kaiju carelessly, because most lost duels come from whiffed openers and unready cooldowns rather than raw stat gaps. Roars are especially underused, since they function as buffs, taunts and combo setup that multiply the value of the skills that follow. Good Beam Clash judgment also protects health, because declining an unfavorable contest costs only space while losing one can decide the fight. None of this requires Cells, which makes ability knowledge the best return on time for a free player.
Challenges
Ability advice has real limits. The developer has not published exact cooldown values, damage numbers or Beam Clash resolution rules, so much of what the community knows comes from testing rather than documentation, and precise figures should be treated as community-reported. Kits also change, because balance patches such as Update 49 revert or adjust monster stats, and a remodel can alter animations and timing in ways that invalidate older rotations. Individual matchups matter too, since a rotation that works against a slow brawler can fail against a mobile kaiju with a stun. Treat any written combo as a starting pattern to test in your own fights. Use any written rotation as a baseline, then adjust it to your own kaiju and connection.
Frequently Asked Questions
How many skills does each kaiju have in Kaiju Alpha?+
What is a Beam Clash and how do I win one?+
How should I use roars in combat?+
How do I manage long cooldowns?+
Quick Tips
Practice your rotation on buildings before you test it on players. Destroying city structures in an arena gives you a low-pressure way to learn each skill's range, animation and cooldown without losing a duel. Once the order feels automatic, take it into a real fight. Players who learn their kit while under attack usually blame the kaiju for problems that were really unfamiliar inputs.
Pair a roar with a specific follow-up. Roar timing matters less than what comes after it, so pick one skill you always use after Roar 1 and another after Roar 2. A fixed pair is easier to remember under pressure than a flexible plan, and it guarantees the buff or setup is not wasted. Refine the follow-up later once the timing is reliable.
Respect the Beam Clash matchup. Walking into a beam contest against a higher-tier kaiju is close to a guaranteed loss, so learn to recognize when a clash is starting and reposition instead. Disengaging costs you nothing but space, while losing a clash often costs a large chunk of health or the whole fight. Choose your contests deliberately rather than accepting every beam that meets yours.
Learn to disengage on cooldown gaps. The biggest difference between a strong player and a beginner is what they do while their skills recharge. Instead of standing in range and trading basic attacks, break line of sight around buildings, heal up, and return when your important abilities are ready. That rhythm turns a losing exchange into a reset fight you can actually win.
Featured

Kaiju Alpha All Abilities: Moves, Ultimates & Skill List
Browse the full Kaiju Alpha all abilities list covering roars, beam ultimates, melee strings, and the strongest special moves worth mastering on every kaiju.
Kaiju Alpha All Roars: Atomic Breath & Beam Clash
Explore every Kaiju Alpha all roars variation, rank the strongest atomic breath charges, and learn exactly when to trigger a winning beam clash.
Kaiju Alpha Godzilla Abilities: Evolved & Destoroyah
Break down Kaiju Alpha Godzilla abilities across Evolved, Shimo, and Destoroyah variants with signature moves, ultimates, and the strongest skills to master.
All Articles
Kaiju Alpha Ability Cooldowns: Combo Timing & Best Attacks
Master Kaiju Alpha ability cooldowns with clear timing breakdowns, optimal combo rotations, and the best attacks to chain for max damage in every fight.
Kaiju Alpha Dodging: Blocking, Stun & Knockback Defense
Stay alive longer with Kaiju Alpha dodging tips covering block timing, stun recovery, knockback cancel routes, and the cleanest ways to avoid big damage.
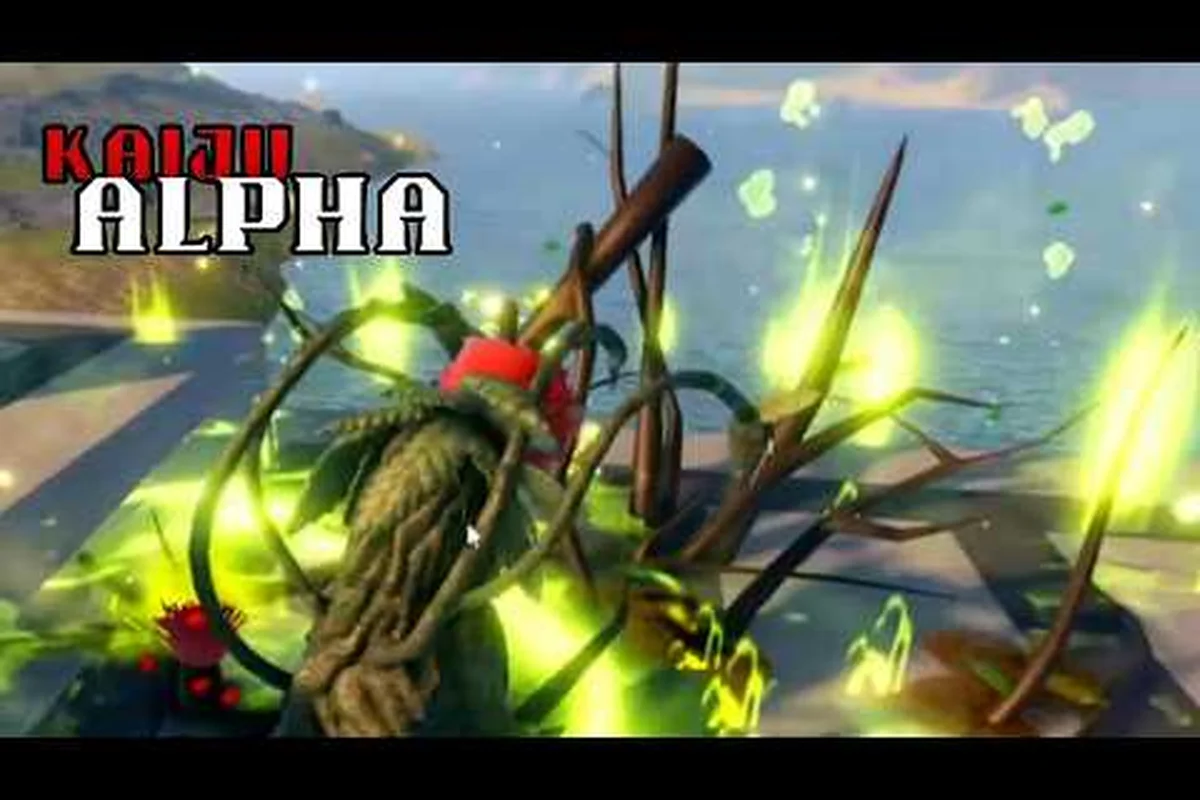
Kaiju Alpha Ranged Attack: AOE Beams, Aiming & Dodge Tips
Learn how every Kaiju Alpha ranged attack works, how to aim AOE beams and ultimates, and which dodges actually avoid knockback in close and mid range.

Kaiju Alpha Skills: Roars, Beams, Combos & Melee Moves
Browse the full Kaiju Alpha skills list covering roars, beam attacks, melee strings, and combo routes every player should learn to dominate PvP and PvE.