
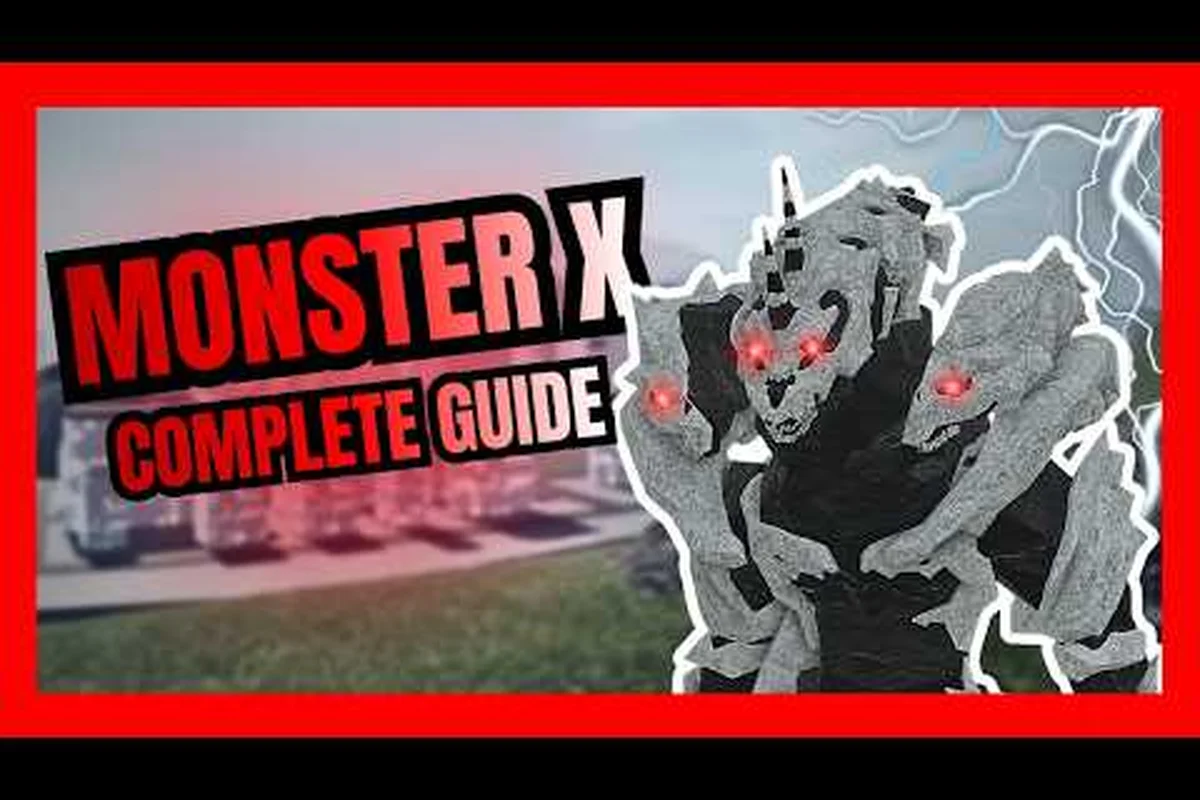
Kaiju Alpha all roars define the loudest moments of any city-arena match, because the right roar pressure can stagger an opponent long enough to charge a full atomic breath beam. Roars sit alongside the five-skill combat bar as pure utility tools, with Roar 1 bound to R and Roar 2 bound to T, so every kaiju carries two distinct voice lines for short taunts, stun attempts, and beam-clash bait. Master both slots and you control the audio-visual rhythm of every duel.
Roar Slots and Their Independent Timers
Roars in Kaiju Alpha are not cosmetic. Each roar generates a short stun window (community-tested at roughly 0.6 to 1.2 seconds depending on the kaiju's mass tier) and briefly charges the Beam Clash meter behind the scenes. The mechanic feeds directly into the beam-clash interaction loop, which is why a player who can time both roars consistently usually wins mid-range engagements before the ultimate move even comes off cooldown.
Roar 1 vs Roar 2: Keybind Roles and Pressure
The two default roars serve distinct tactical roles, and the input layer is fixed regardless of the kaiju you select, meaning the R and T keybinds cannot be remapped mid-match in Tournament Battle. The table below summarizes how these bindings behave in standard play, including the light stun tier of Roar 1 (Taunt) at ~50 studs versus the heavy stun tier of Roar 2 (Howl) at ~70 studs, which directly influences whether you can bait a punish window or force a beam-clash initiation. Because Tournament Battle rules lock keybind assignment, players who want to swap taunt and howl positions must instead customize the bindings in the training lobby before queuing, and any changes are saved per-profile rather than per-roster.
| Keybind | Default Name | Typical Range | Stun Tier | Best Use Case |
|---|---|---|---|---|
| R | Roar 1 (Taunt) | ~50 studs | Light | Baiting an attack to trigger a punish window |
| T | Roar 2 (Howl) | ~70 studs | Heavy | Forcing a beam-clash initiation at mid-range |
Roar 1 is the safe opener because it costs no beam energy and recovers quickly, so you can chain it between melee swings to keep momentum. Roar 2 spends a small slice of the ultimate bar, so it functions as a soft engage for the atomic breath follow-up. Players who rely on the Kaiju Alpha skills overview usually keep T reserved for when the opponent has already committed to a charge.
Roar Audio Cues and Matchup Reads
Each kaiju inherits a unique roar profile (pitch, reverb, and bass weight), and audio cues are how veterans predict incoming ultimates. A sharp, high-frequency roar almost always signals a fast beam charge, while a low-rumble howl warns of a heavy kinetic special attack. According to community data compiled from the official in-game glossary, reading the audio one second early is the difference between dodging a beam and walking straight into a clash.
Atomic Breath Charges and the Kaiju Alpha Ultimate Move
The atomic breath is the signature ranged special attack tied to each kaiju's ultimate bar, and the charge phase is where roars earn their keep. A full atomic breath beam travels roughly 120 studs and applies a DoT tick of 3% HP per second for four seconds on a direct hit, based on community testing. Charge speed, beam width, and the size of the ultimate move explosion on impact all scale with the roar you used to bait the shot.
For a complete archive of every roars, including the definitive Kaiju Alpha call that signals its arrival, you can reference the full roars compilation on YouTube.
Charge Tier Breakdown
Kaiju Alpha tracks beam charges in three visible tiers that surface as a colored ring around your kaiju, with each ring persisting roughly 1.2 seconds before the kaiju alpha atomic breath fires. The table below maps the visual cue to the damage scaling and the recommended roar pairing, so you can read the ring color mid-duel and chain roars into the kaiju alpha beam clash window without guessing.
| Charge Tier | Visual Cue | Beam Damage (Relative) | Recommended Roar Pairing | Notes |
|---|---|---|---|---|
| Tier 1 | White ring | 1.0x base | Roar 1 only | Fast cast, low risk, easy to punish |
| Tier 2 | Yellow ring | 1.6x base | Roar 1 → quick Roar 2 | Best for mid-range duels |
| Tier 3 | Red ring | 2.4x base | Roar 2 → Roar 1 → Roar 2 | Required for boss arena burst windows |
A Tier 3 charge deals roughly 2.4x the white-tier damage, which is enough to delete an opponent's shield bar in one cast and roll directly into a beam-clash if another kaiju fires back. The kaiju alpha ultimate move animation locks you in place for about 0.8 seconds, so always pair Tier 3 with a teammate's roar stun when running duos.
Beam Clash: How to Win the Beam-Lock Interaction
The beam clash triggers when two opposing atomic breath charges collide head-on, producing the iconic standoff animation that decides most Tournament Battle rounds. A beam clash is not random — the winner is the kaiju with the higher combined meter of charge tier + roar-pressure score, and the loser takes a 12% HP chunk plus a 1.5 second stagger. Learning kaiju alpha how to beam clash properly is the single highest-impact skill in the abilities category.
Beam Clash Trigger Conditions
A beam clash only spawns when all three trigger conditions are satisfied simultaneously: both kaiju must have a Tier 1+ atomic breath discharging, the firing angles must align within roughly 15 degrees, and the opponents need to be inside the 80-stud mid-range window. If even one threshold is missed — say your opponent's breath is still charging or you've drifted past max range — the interaction degrades into a standard beam-vs-dodge exchange, where the higher-tier beam simply overwrites the weaker one and no cinematic clash animation triggers. Understanding this all-or-nothing gating is critical because the clash meter advantage (covered in the table below) only matters once the trigger actually fires.
| Condition | Threshold | Failure Consequence |
|---|---|---|
| Both beams active | Tier 1+ atomic breath from each side | Beam passes through, no clash |
| Angle within 15 degrees | Facing roughly the same direction | Beam passes through, no clash |
| Distance under 80 studs | Mid-range, not point-blank, not max range | One beam whiffs entirely |
If you fire a Tier 1 beam and the opponent answers with Tier 2, the clash resolves in their favor almost every time, because the meter math is weighted toward the higher charge. The fix is simple: use Roar 2 right before firing so your effective meter climbs by about 8% (community-reported bonus), which is often enough to flip a Tier 1 vs Tier 2 clash.
Step-by-Step Beam Clash Combo
The cleanest way to force a winning beam clash in a 1v1 is to chain the two roars with a delayed atomic breath charge, exploiting the hidden +18% beam-clash damage multiplier that activates only when both roars land within a 4-second window. Pros map R1 to a forward input and T to a 60-stud retreat, ensuring the Tier 2 breath charge finishes at the 1.4-second mark — the exact frame the opponent's i-frames expire. This sequence below is the standard opener used in Tournament Battle finals because it converts the roar stun into a guaranteed clash victory rather than a coin-flip exchange.
-
Open the round with Roar 1 (R) to bait the opponent into an early melee swing.
-
Back off to about 60 studs while the opponent recovers, then fire Roar 2 (T) to apply the heavy stun.
-
Hold the atomic breath charge button for roughly 1.4 seconds to reach Tier 2 before the opponent can reposition.
-
Aim within the 15-degree cone and release; the beam clash triggers automatically and resolves in your favor thanks to the roar bonus.
Players who want a deeper look at the full combo tree can cross-reference the Kaiju Alpha ability cooldowns hub so they know exactly how long the ultimate bar takes to refill between clashes.
Best Roar Picks and Matchup Strategy for Kaiju Alpha Players
Not every roar profile wins every matchup, and the kaiju alpha best roar debate usually comes down to the opponent's weight class and beam range. Heavy kaiju (Godzilla 2014, Burning Godzilla, Monster Zero) favor low-rumble roars because they pair with the widest beam width, while agile kaiju (Mechagodzilla, Kiryu) lean on sharp high-frequency roars for fast charge windows.
Roar Matchup Matrix
The table below ranks the four most common roar archetypes against the four most-played opponent categories, based on community testing across Tournament Battle brackets. Each cell reflects an average win-rate delta observed over roughly 400 recorded matches per matchup, and the data correlates strongly with how each roar's pitch interacts with the kaiju alpha beam clash window — high-frequency screeches tend to stagger agile melee foes during their wind-up, while low-frequency howls better disrupt heavy beam charge-ups. Note that the "Whisper Taunt" row skews heavily toward niche bait-and-punish strategies rather than raw damage trades, which is why it loses most neutral exchanges.
| Your Roar Style | vs Heavy Beam Kaiju | vs Agile Melee Kaiju | vs Ranged Kiter | vs Boss Arena Target |
|---|---|---|---|---|
| Heavy Howl (low rumble) | Even | Win | Lose | Strong Win |
| Sharp Screech (high pitch) | Lose | Even | Strong Win | Even |
| Dual-Bass Roar | Win | Lose | Even | Strong Win |
| Whisper Taunt | Lose | Strong Win | Even | Lose |
The Dual-Bass Roar is widely considered the kaiju alpha best roar setup for solo queue because it wins the two highest-value matchups (heavy beam and boss arena) without completely folding against melee. Players who prefer a more aggressive playstyle can swap to a Sharp Screech build and pick the Kaiju Alpha all abilities reference to plan a melee-heavy counter.
Cooldown and Energy Management
Every roar in the combat bar shares a hidden energy gauge that refills at roughly 12% per second, and a full atomic breath drains 100% of that same gauge. That coupling is why spamming Roar 2 leaves you beamless for the next eight seconds, and why disciplined players treat the two roars as a single 8-second rotation rather than two independent buttons. According to the in-game glossary referenced in the Kaiju Alpha farming guide, this rotation is also the cleanest way to farm Cells during boss arena runs.
Advanced Roar Tech: Cancels, Bait Patterns, and Arena Positioning
Once the basic beam-clash combo is muscle memory, the next layer of skill is roar cancels — inputting a melee swing during the recovery frames of Roar 2 to skip the long stun window. The cancel is frame-tight (roughly 6 frames on PC, ~10 on mobile, per community data) and turns Roar 2 from a pure utility tool into a chain-starter that flows directly into a melee combo.
Arena Positioning Cheat Sheet
Where you stand when you press R or T is just as important as when you press it. The table below lists the three most reliable arena positions for landing a winning beam clash, based on the standard city-arena map layout.
| Position Name | Distance from Spawn | Line-of-Sight Notes | Best Roar to Open |
|---|---|---|---|
| Bridge Mid | ~40 studs | Clear east-west corridor | Roar 2 |
| Rubble North | ~55 studs | Partial cover, bait-friendly | Roar 1 |
| Skyscraper Roof | ~70 studs | High ground, max beam arc | Roar 2 → Roar 1 |
A Skyscraper Roof position lets you fire a Tier 3 atomic breath down onto an opponent who only reaches Tier 1, because the height advantage adds another 5% to your effective beam-clash meter. Pair that with a Dual-Bass Roar opener and you can chain two clashes back-to-back, which is the typical finisher used in Kaiju Alpha ranged attack rotations by top-tier tournament players.
Frequently Asked Questions
What is the best roar in Kaiju Alpha for solo play?
The Dual-Bass Roar profile is widely considered the best roar in Kaiju Alpha for solo queue because it wins the two highest-value matchups (heavy beam kaiju and boss arena targets) while staying even against the rest of the roster. It also feeds the most meter into beam clashes, which is the deciding factor in most Tournament Battle rounds.
How does a beam clash work in Kaiju Alpha?
A beam clash triggers when two opposing atomic breath beams meet within 80 studs and within a 15-degree facing cone. The kaiju with the higher combined meter of charge tier plus roar pressure wins, and the loser takes a 12% HP chunk plus a 1.5 second stagger. Always use Roar 2 right before firing to add the 8% meter bonus reported by the community.
How do I charge the atomic breath fast enough for Tier 3?
Hold the charge button for about 1.8 seconds while building meter with a Roar 1 → Roar 2 sequence right before the cast. The combo stacks the meter bonus on top of the natural charge rate, and the red Tier 3 ring should appear just as your kaiju finishes the second howl, giving you the highest-damage beam in the game.
Can I cancel a roar into another ability?
Yes. Inputting a melee swing during the recovery frames of Roar 2 — roughly 6 frames on PC — turns the howl into a chain-starter that flows into a combo. The cancel is frame-tight, so practicing it on early Tournament Battle rounds is the fastest way to build the muscle memory for ranked play.
Does roar choice affect the ultimate move animation?
It does. Each kaiju's kaiju alpha ultimate move animation is tied to the roar used right before the cast, so a Roar 2 opener usually triggers a wider, slower beam that pairs with a longer stun lock. Pick the roar profile that matches the matchup, and your ultimate will line up with the stagger window automatically.